The world of drones has exploded over the last decade. But getting started can still seem daunting, especially if you are just getting into flying or need help learning how to fly safely.
You can now learn drone flying in a matter of hours rather than years.
Before you start the top of your exercise motivated to fly with the Quadcopter or simply to become a better pilot, there are a few basic rules to follow.
All of you who have been flying drones for some time will know all this and can skip this paragraph, but for beginners, it might be informative:
The Basic Rules & To Observe When Learning To Fly A Drone
- Observe the legal situation! You may not fly/practice everywhere. Since it is, unfortunately, quite complex legally, please start Google and see what you find for your country/state in addition.
- It is better to wait for no wind or until you have almost no wind or find a place with as little wind as possible. Especially for beginners, this pays off. An option is also to practice with the very small Mini Copters like the Cheerson CX10 in the room or in a hall.
- Insurance! There are (especially well, with all model sport flying clubs) already a multiplicity of insurances for Quadcopter. I recommend concluding one or informing you of a model sports club in your proximity. If the quadcopter crashes and causes material damage or even personal injury (but this should not happen because there is no other person in your training area), insurance can protect you from financial ruin. Here is my research on the subject of liability insurance for drones in Austria.
The Flight Exercises And Flight Maneuvers To The Quadcopter Flight Practice:
In the beginning, I would like to mention that these exercises are rather meant for completely manually controllable quadcopters because the modern devices “relieve” you of a lot or are automatically controlled by the flight controller.
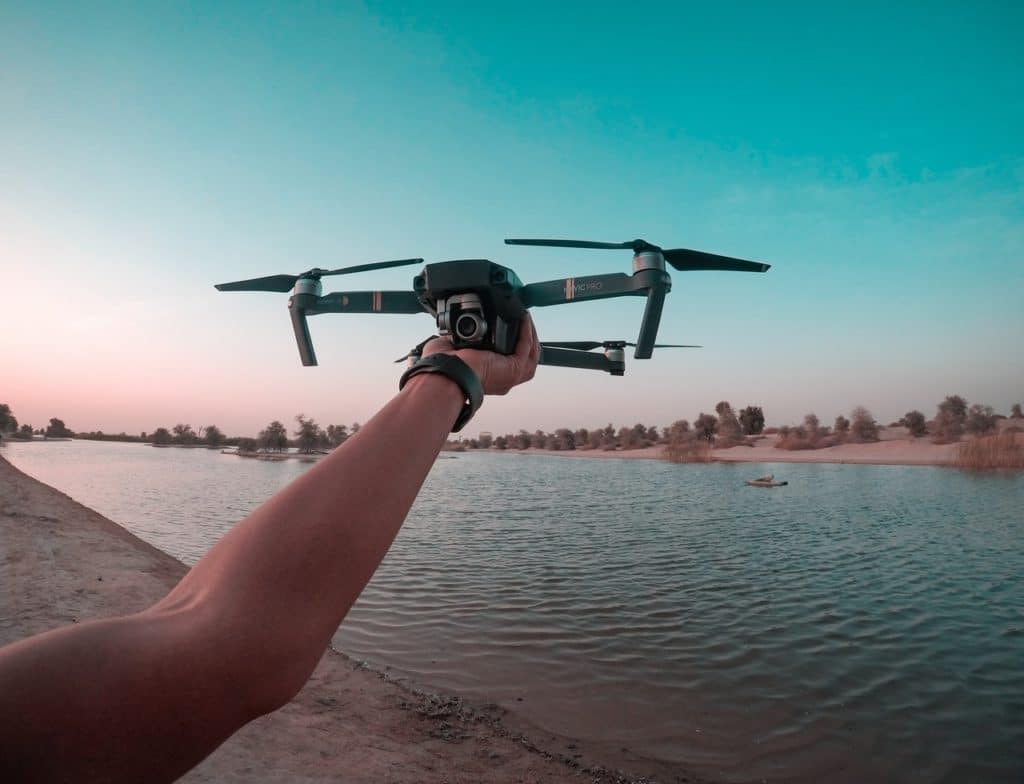
The automatic holding of the altitude is actually with the GPS flight with the DJI drones and with other manufacturers for a long-time standard. With a DJI Mavic Pro or similar Coptern, takeoff and landing are also possible automatically. With these models, you can, of course, also fly in manual mode, but for practice purposes, this might be a little too expensive 🙂
Therefore I recommend, even if you have a device that does all the work for you, to practice with a small, cheap Quadcopter more often to have in case of emergency also, manually everything under control or touch you to the drone Racing 🙂
1. Exercise: Take Off And Land With The Quadcopter
This may sound quite banal, but you have to learn how to take off and land. Therefore I would recommend as a first exercise that you only try to bring the quadcopter vertically into the air at about 1m height, and there = 2nd exercise to keep as stable (almost motionless) as possible in the air, and then land again as exactly as possible on the point where you started.
Pay attention: With quadcopters and helicopters, there is a ground effect when they are just above the ground, and the thrust of the rotors hits more “recoil” from the ground. This will cause your aircraft to almost “jump” off the ground again.
A tip, if you are just above the ground, to try to land at a certain height (about 20-40cm) in one go. If you have a newer DJI drone or have already seen a landing with it, like the Mavic Pro, for example, then you can see that it goes down in an (automatic) landing from the height of 0.5m in a nice even and smooth train and lands. You should do it this way manually 🙂
2. Exercise: Hovering – Holding The Quadcopter In The Air – Hovering Flight
This exercise also sounds much easier than it actually is, especially in manual flight mode. Here the quadcopter must be held as stable as possible at a certain height, for example, 1m. You will see that this exercise is not as easy as it sounds.
With Mode 2 remote controls, you just have to move the Pitch/Gas joystick up.
3. Exercise: Floating A Square – Drone Flying Off A Square
First, you have to start and stop floating in front of you at a certain height. Important for this exercise. The nose of the quadcopter remains facing forward all the time. Then you first fly some meters forward, stop, then to the right, stop briefly in the air, then to the back, stop briefly, and then again to the left to return to the starting point.
4. Exercise: Square Take Off – With The Nose Turned By 45 Degrees
This sounds pretty cryptic now, but with the GIF it’s more logical again :).
You have to start as before and hold the quadcopter at a certain height in front of you, then turn the quadcopter 45 degrees in one direction. This way the nose won’t point forward but is turned 45 degrees either to the left or to the right. And then it’s tricky. Now you fly the square just like in exercise 3, but the copter stays in the same position with the nose the whole time.
Here the nose is turned 45 degrees to the left. On the Cheerson CX-10, the blue LEDs are at the front and the red LEDs at the back.
You can increase this exercise so much that you turn the quadcopter by 45 degrees again and the square flies off again. So in 45 degrees turn, 90 degrees turn, 135 degrees turn, 180 degrees turn, etc.
📖 More similar articles
Square flies with a 90-degree rotation.
This allows you to control and fly your aircraft in all positions. If these exercises sit first times then one can already try to fly his first beautiful curves. Maybe you can try to get a whole circle, but that’s a chapter in itself.


