Are your business’s bathrooms up to the Americans with Disabilities Act (ADA) standards? Is the HVAC unit up to date? Perhaps your facility hasn’t been updated in a while. When the building was purchased, it never occurred to you that your restrooms were a problem, which could bring you big fines for not being compliant. Meanwhile, humidity is building up in the restrooms due to a lack of ventilation.
Imagine your social media or public relations reps showing you a post on Facebook with pictures of nasty graffiti inside your stalls, or a scathing Yelp review about the appalling, run-down conditions in your store’s restroom.
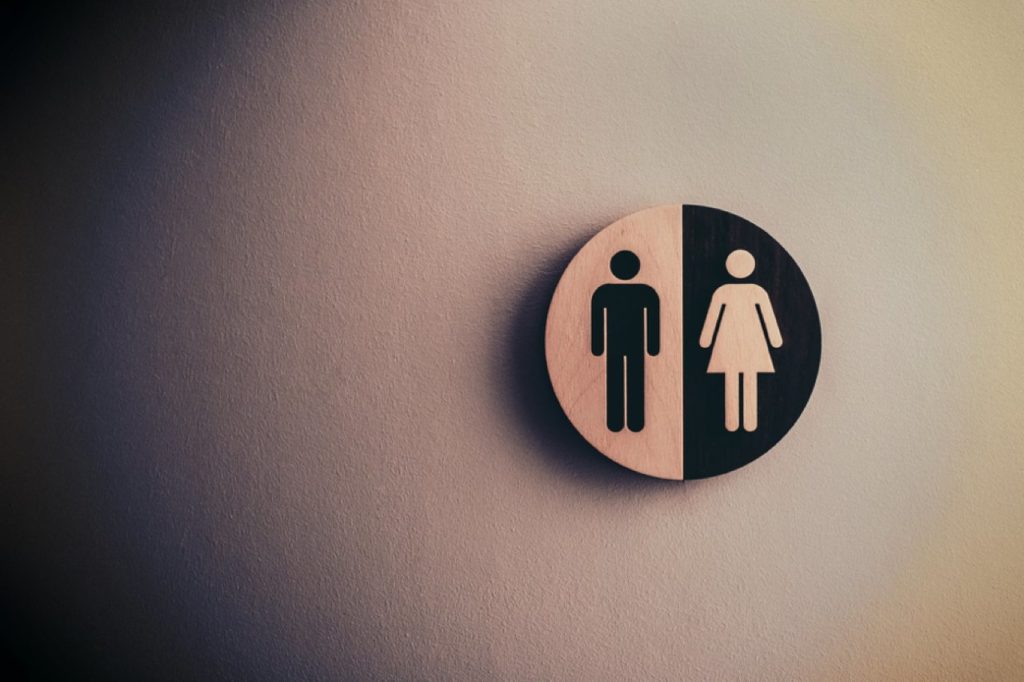
Business bathrooms are a silent, often ignored symbol of the health of your company. Customers who would never allow a bathroom to become “unsavory and unpleasant” in their home expect the same courtesy in their working conditions or their shopping experience.
And bathroom partitions, in particular, are a big part of the restroom experience. Your business restrooms should be clean, without graffiti (including scratched-in graffiti), and generally, be touchless as well. Moreover, the doors and locks, and hardware of your bathroom partitions should never be broken, damaged, or ill-fitting.
When Do You Need to Replace Toilet Partitions?
Naturally, whenever you decide to remodel a bathroom, you’ll want to replace your bathroom partitions. Remodeling the walls, floors, and sinks of your restroom but leaving the old restroom partitions up isn’t going to make much sense.
And of course, if you are remodeling bathrooms to make them wheelchair accessible, you’ll need to remodel the partitions anyway.
The vast majority of older buildings have and continue to use powder-coated metal partitions. They are the cheapest partitions out there, and when brand-new, they look decent.
Unfortunately, it only takes a penknife, a pencil, a magic marker, some lipstick, or a can of spray paint to instantly turn a bathroom partition into a war zone.
Regardless of the specifics, graffiti is incredibly ugly and the only short-term solution is often retouching the partition… over and over again.
Damaged hardware is another common issue that can quickly degrade an otherwise well-kept bathroom. And since hardware takes a bit of know-how to replace, it tends to be neglected the longest.
Before you take the plunge and replace partitions, you should consider doing a deep clean first. When it comes to cleaning, you’ll want to consult a cleaning guide tailored to the various types of bathroom partitions you are working with. For example, despite being impervious to most cleaning agents, you should never use bleach on stainless steel since it can cause discoloration. For powder-coated metal, you’ll need a color-matched touch-up kit. Plastic and phenolic will have their own associated requirements. Check your specific bathroom partition manufacturer or distributor’s website to get detailed information on cleaning.
What to Look for in Bathroom Partitions?
There are several different materials for bathroom partitions, ranging from cheap and flimsy to extremely high-end. Most businesses will want to find that happy medium.
Some businesses such as high-end hotels, plastic surgeon offices, jewelry stores, and the like know exactly what they want, which is stainless steel.
Stainless steel is incredibly easy to clean, maintain and disinfect, will last for years, is 100 percent mold-resistant, comes in designs and patterns that are distinctly “upper crust,” and they will last for 10 years or more. Stainless steel is also extremely resistant to scratches and graffiti, which can be easily removed with a small concentration of paint thinner.
Stainless steel would probably be the sole type of partition for most businesses, were it not for the fact that it costs two to three times as much as other partitions. But while expensive, most businesses that install stainless steel partitions never look back at their decision.
As an alternative to stainless steel, most high-traffic businesses that do not want to spend the money on stainless steel choose HDPE Solid Plastic Partitions.
HDPE plastics are solid 1-inch doors of poured plastic that weigh up to 165 lbs. each.
HDPE plastics are easy to clean, come in a variety of colors, are extremely tough, work in any environment including humidity (unlike laminate partitions), and graffiti wipes off quite easily with ordinary cleaning products.
While not as beautiful as stainless steel, some HDPE plastic partitions come with a 25-year warranty, which makes them extremely economic over time.
Naturally, powder-coated restroom partitions are the cheapest, but as stated earlier, they don’t hold up well to graffiti unless you buy special anti-graffiti coating for them, which boosts the price considerably.
Getting Quotes from Different Partition Distributors and Types of Bathroom Partitions
There are dozens of different partition distributors online to get quotes from, but be sure you are comparing apples to apples, so to speak.
For example, one distributor may quote you $200 or more per powder-coat stall but then you realize the more expensive distributor also includes special anti-graffiti coating, which the first one does not have.
Also, be sure and choose to work with a quality bathroom partition company rather than merely going by the price. You want the whole package, price, color choices, a good warranty, and excellent customer service.
Installation
The first thing to ask yourself is whether or not you and your company will choose to install your new partitions.
Installing new partitions isn’t exactly rocket science, but it’s not 100 percent easy-peasy either. Many businesses choose to find a local contractor to do the installation, which is, of course, the easy way, but far from the cheapest.
If you do choose to hire a contractor be sure to specify exactly how the procedure will work. Ask if the contractor will choose his distributor for the stalls (which of course means they will be more expensive) or if you can supply your own and have the contractor strictly install it.
According to Fast Partitions, there are 12 steps to installing a partition:
Step 1: Establish the floor bracket locations.
Step 2: Drill holes for the floor brackets and screw them in place.
Step 3: Erect two-panel brackets to the wall and then fasten the panel.
Step 4: Erect a wall pilaster.
Step 5: Fasten the upper and lower hinges to the pilaster.
Step 6: Fasten the U Brackets to the Pilaster.
Step 7: Install the pilaster.
Step 8: Prepare the door for hanging.
Step 9: Hang the door.
Step 10: Put up the remaining compartments.
Step 11: Secure the headrail brackets. Step 12: Place the headrail and to fasten it to the pilaster.