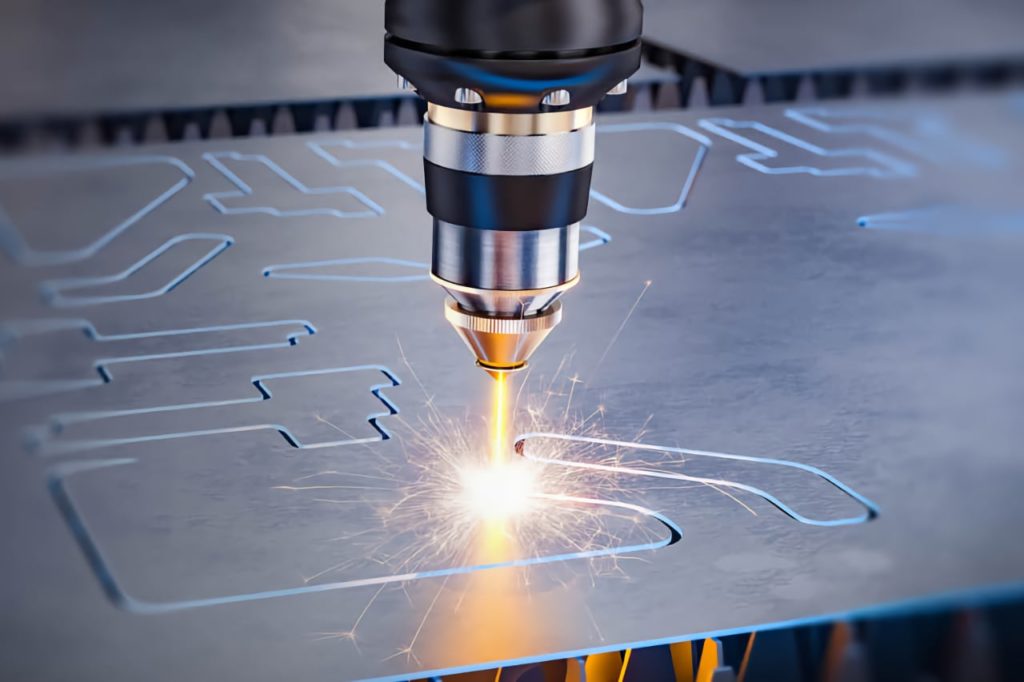
Laser engraving involves creating a clear and legible image in materials using a laser beam. This beam acts as a chisel to vaporize localized areas on the engraved materials into fumes, creating cavities that reveal clear images. The heat’s effect can be used to design various materials, including wood, paper, metal, glass, and plastics. Below is a detailed insight into how laser engraving works.
What happens during laser engraving?
As stated above, laser engraving vaporizes localized, solid areas on materials into gas to create the desired designs. The material surface is sublimated to create deep crevices, meaning the surface readily absorbs enough energy to change from a solid to a gas without becoming a liquid. Therefore, to achieve this sublimation, the laser engraving system must produce high energy amounts that must be enough to allow the material to reach its vaporization temperature within milliseconds. Some of the vaporization temperatures for common metals that undergo laser engraving are:
- Aluminum – 2327 °C
- Iron- 3000°C
- Lead-1750°C
- Zinc- 906°C
- Magnesium-1110°C
- Copper- 2595°C
When materials reach these temperatures, they’re vaporized into fumes. As such, many laser systems are equipped with fume extraction systems that protect the work environment. Also, due to the high temperatures required for sublimation, laser engravers are considered powerful tools.
Related: How a new Engraving Machine can Help Your Small Jewellery Businesses Remain in Profit
From solid to gas – The Engraving Process
1. Design
It’s essential to first decide on the design or engraving you want to create. Then, experts like The Engraving People will make your design using a CAD program or other design programs. However, the files generated by any design software used must be compatible with the laser engraving machine. When your design is finalized, it’ll be sent to the laser engraver via the printer dialogue.
2. Prepare your materials
The next step is to put your chosen materials into the engraving machine and select the specific settings you want to use. Depending on the software and the engraver, you can control the laser strength, speed, depth of the cuts, number of passes, and other variables.
3. Start the machine
After deciding on your material choices and the various settings you want to use, it’s now time to press the start button and observe the laser engraving machine as it efficiently produces your design. The laser beam, laden with energy and heat, will vaporize whatever area you aim it at, leaving no wear and tear damage around the other areas of the material. It’s an entirely non-contact process, making it safe for the operator of the laser machine. Also, it’s more efficient because you don’t have to clean any rough edges after the laser application. Finally, this process is highly environmentally friendly because the little waste left behind isn’t harmful.
4. Engraving mark displays
The high-powered laser will carve out your design into your desired material, with the engraving’s depth depending on the power you used with the laser. You can then take the material out of the machine, which is the final step in the engraving process.